
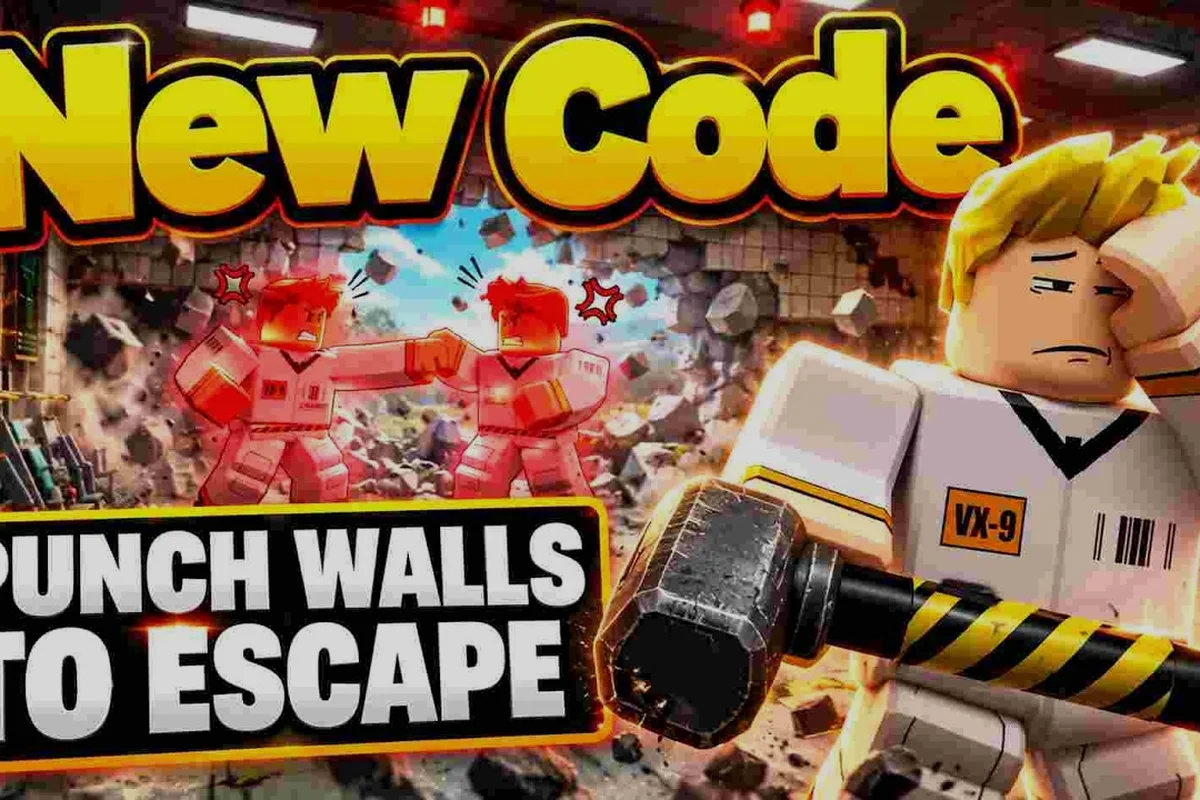
The Punch Walls to Escape best tool question has a surprisingly clean answer: the pickaxe is the workhorse most runs settle on, while dynamite ends the argument at the wall. This tier list ranks all four digging tools and shows exactly what each unlock buys you.
Ranking the Digging Kit From Worst to Best
Every run in Punch Walls to Escape follows the same loop. You punch a wall, vacuum the rubble it drops, and spend that progress on the next tool in a fixed line: chisel, pickaxe, jackhammer, then dynamite. There is no branching tree and no side-grade, which makes ranking them refreshingly simple — the only real debate is whether each upgrade earns its cost or whether you should hold your rubble for the next tier.
Community videos covering the game, including ToyTaanic's prison escape run, confirm the same sequence, and no official page lists exact damage numbers, tool prices, or rubble values. That means every ranking below is built on relative performance — how much faster a tool clears blocks compared to the one before it — rather than invented stats. Treat any precise number you see elsewhere with suspicion.
Here is the quick verdict before the deep dive: Dynamite earns the S tier for burst demolition, Pickaxe takes A as the best rubble-per-block value, Jackhammer lands in B as a strong but costly mid-game step, and Chisel sits in C as the necessary opening tool you outgrow fast. The deciding factor is rubble economy — since every tool in the fixed chisel → pickaxe → jackhammer → dynamite line is bought with vacuumed rubble, a hard-hitting upgrade that empties your reserves can stall your next unlock, while the pickaxe's cheaper cost keeps the escape momentum rolling.
| Tier | Tool | Role | Verdict |
|---|---|---|---|
| S | Dynamite | Endgame block blaster | Best burst, limited by cost |
| A | Pickaxe | Core progression tool | Best value per rubble spent |
| B | Jackhammer | Mid-game upgrade | Strong but expensive step |
| C | Chisel | Opening tool | Necessary, quickly outgrown |
The ranking is not about raw power alone. A tool that clears one block instantly but drains your rubble reserves can stall a run, while a cheaper tool that clears steadily keeps momentum. That trade-off is the heart of the Punch Walls to Escape tool tier list, and it is why the pickaxe sits above the jackhammer for most players even though the jackhammer hits harder.
Why Relative Speed Beats Raw Damage
Punching bare-handed works, but it is slow and drops little rubble, so the chisel is your first real step. Each upgrade after that widens the gap: the pickaxe turns a multi-second block into a quick break, and the jackhammer compresses that further. Because the game gives you no damage readout, the practical measure is blocks per minute — how many walls you clear in a fixed stretch of play.
Players report that the jump from chisel to pickaxe feels larger than the jump from pickaxe to jackhammer, which is why the pickaxe earns the A tier. It is the point where the loop stops feeling like a grind and starts feeling like progress. If you want the full step-by-step sequence, the unlock order breakdown walks through each purchase in context.
Punch Walls to Escape Best Digging Tool: Full Comparison
The table below compares the four tools on the dimensions that actually matter during a run: clear speed (how fast a tool chews through a wall's block count) and rubble efficiency (blocks cleared per unit of rubble spent). These are qualitative ratings drawn from community play rather than datamined values, because Punch Walls to Escape exposes no official stat sheet — the numbers here reflect what players consistently observe across the chisel, pickaxe, jackhammer, and dynamite unlock curve. Treat the ratings as a decision aid for spend order, not a hard tier list: a tool that looks weak on paper can still be the right call when your rubble reserve is thin or a dense mid-game cluster demands burst damage.
| Tool | Clear Speed | Rubble Efficiency | Best Use Case |
|---|---|---|---|
| Chisel | Low | High | First walls, learning the loop |
| Pickaxe | Medium-high | Highest | Bulk of the run |
| Jackhammer | High | Medium | Dense mid-game sections |
| Dynamite | Very high | Low per block | Breaking clusters fast |
The pattern is clear: efficiency peaks at the pickaxe and power peaks at dynamite. That is the classic trade-off in any digging progression, and it shapes how you should spend rubble. Early on, every unit of rubble matters, so the chisel's high efficiency keeps you moving. Mid-run, the pickaxe's balance of speed and cost makes it the default. Late-run, you have enough reserves that dynamite's lower per-block efficiency stops mattering — you just want the wall gone.
Chisel vs Pickaxe: The First Real Decision
The chisel gets you out of the starting cell and teaches the punch-and-vacuum rhythm. It is not a bad tool; it is simply a starter tool that the game expects you to replace. The pickaxe is the first upgrade that changes how the game feels, because it clears the same block types noticeably faster while still returning solid rubble.
If you are weighing whether to save for the pickaxe or spend on something else, the answer is almost always the pickaxe. It is the single biggest quality-of-life jump in the game, and it pays for itself by accelerating every wall that follows. The beginner tool walkthrough covers this decision in more detail for first-time players.
Pickaxe vs Jackhammer: Where Most Players Stall
This is the comparison that splits the community. The jackhammer is stronger, but it costs more, and the speed gain over the pickaxe is smaller than the chisel-to-pickaxe leap. Players who buy it early sometimes find themselves rubble-poor and stuck, while players who wait until they have a buffer sail through.
The practical rule: buy the jackhammer when your rubble income comfortably covers it, not the moment it appears. If you are still scraping together rubble for each purchase, stay on the pickaxe a little longer. The buy-order guide lays out the timing in more detail.
Getting Each Digging Tool in Order
Unlocking is straightforward but strictly sequential — you cannot skip ahead. Each tool only appears in the shop line once you have banked enough rubble from the previous tier, so the progression runs Chisel → Pickaxe → Jackhammer → Dynamite, with each upgrade gated behind the one before it. That means farming rubble with your current tool is the real bottleneck, not the purchase itself. Here is the practical sequence.
How to Unlock the Chisel
The chisel is your first purchase and the cheapest. Punch the starting walls, vacuum the rubble, and buy the chisel as soon as the option appears. Do not overthink it — the chisel is required to progress efficiently and there is no competing purchase at this stage. Once you have it, the loop speeds up immediately.
How to Unlock the Pickaxe
The pickaxe is the second unlock and the one most players remember. Keep clearing walls with the chisel, bank your rubble, and buy the pickaxe the moment you can afford it. This is the highest-value purchase in the game, so prioritize it over everything else. If you are ever unsure where your rubble should go, the pickaxe is the answer until you own it.
How to Unlock the Jackhammer
The jackhammer comes third. By this point you should have a steady rubble flow from pickaxe work, so the purchase is less about scraping and more about timing. Buy it when your reserves can absorb the cost without leaving you stuck on the next wall. Players who rush it often regret it; players who wait a beat rarely do.
How to Unlock Dynamite
Dynamite is the final unlock and the endgame tool. It clears clusters of blocks at once, which makes it the fastest way to finish a run — but it is also the least efficient per block, so it is a finisher, not a workhorse. Save it for the dense final sections where speed matters more than rubble economy. The dynamite mechanics guide explains how to place it for maximum effect.
Punch Walls to Escape Best Tool by Run Stage
The honest answer to which tool is best depends on where you are in a run, because Punch Walls to Escape gates each tool behind a different unlock and each wall layer has a different hardness value. Early on, the Chisel is your only digging option, so efficiency is irrelevant — you simply cannot progress without it. Once the Pickaxe unlocks, it becomes the workhorse for the longest mid-run stretch, which is why most tier lists rank it at the top. The Jackhammer only pays off in dense wall clusters where its faster clear rate beats the Pickaxe's lower cost, and Dynamite is reserved for the final push, where a single burst clears a cluster that would otherwise eat 20+ seconds of Pickaxe swings.
| Run Stage | Recommended Tool | Why |
|---|---|---|
| Opening walls | Chisel | Only option, efficient |
| Mid-run bulk | Pickaxe | Best speed-to-cost ratio |
| Dense sections | Jackhammer | Faster clears, reserves ready |
| Final push | Dynamite | Burst clears clusters |
This staged view is more useful than a single "best" label because it matches how the game actually plays. You are not choosing one tool forever; you are choosing the right tool for the wall in front of you. The pickaxe is the best overall because it occupies the longest and most important stretch of the run, but dynamite wins the final minutes.
When to Skip an Upgrade
Skipping is rarely worth it, but there is one exception: if buying the jackhammer would leave you unable to afford dynamite before the final section, hold your rubble. The jump from jackhammer to dynamite is bigger than the jump from pickaxe to jackhammer in terms of finishing speed, so protecting that last purchase can pay off. The skip-or-buy analysis digs into the math.
Practical Tips for Getting More Out of Every Tool
Beyond the ranking, a few habits make any tool perform better, and these come from community play rather than official documentation, so treat them as field-tested rather than guaranteed. The underlying reason is that the income loop in Punch Walls to Escape rewards throughput, not raw breaking power: a jackhammer that clears a dense wall in seconds still pays out nothing until the rubble is vacuumed, whereas a humble pickaxe paired with constant collection keeps the counter climbing. That gap is why tool tier lists and practical discipline are two separate skills — the tier list tells you what to unlock, but the habits below decide whether that unlock actually converts into faster escapes.
-
Vacuum immediately after every break — rubble left on the floor is progress you are not banking, and the loop rewards constant collection.
-
Clear in clusters, not lines — breaking adjacent blocks together keeps your rhythm and, with dynamite, multiplies the payoff.
-
Bank before you buy — never spend down to zero on an upgrade; keep a small buffer so a surprise dense wall does not stall you.
-
Match the tool to the wall — switch back to the pickaxe for routine blocks and save the jackhammer and dynamite for sections that actually need them.
-
Watch the rubble counter, not the wall — your real progress metric is income per minute, not blocks remaining.
These habits compound. A player with a pickaxe and good collection discipline will outpace a player with a jackhammer who leaves rubble behind. That is why the Punch Walls to Escape best digging tool is less about the item and more about how you use it.
Reading the Loop Like a Speedrunner
Experienced players treat each wall as a timing problem. They break the block, vacuum in the same motion, and move to the next without pausing. The tools that support this flow — the pickaxe especially — feel faster than their raw stats suggest because they let you chain actions. If you want to understand the broader loop and how long a full escape takes, the game loop explainer is a good companion read.
Frequently Asked Questions
What is the best tool in Punch Walls to Escape?
The pickaxe is the best overall tool because it offers the strongest balance of clear speed and rubble efficiency across the longest stretch of a run. Dynamite is faster for the final push, but its high cost per block makes it a finisher rather than a workhorse you rely on throughout.
How do I unlock the pickaxe fast?
Bank rubble from chisel work and buy the pickaxe the moment it becomes affordable, skipping any optional spending. Because the chisel-to-pickaxe jump is the largest speed gain in the game, prioritizing this purchase is the fastest way to accelerate your entire run and every wall that follows it.
Is the jackhammer worth buying?
Yes, but timing matters. Buy the jackhammer only when your rubble reserves can absorb the cost without stalling your next wall. Players who rush it often end up rubble-poor, while those who wait until they have a buffer find it a solid mid-game upgrade that speeds up dense sections.
When should I use dynamite instead of the pickaxe?
Use dynamite for dense clusters and the final section of a run, where clearing multiple blocks at once saves real time. For routine walls, stay on the pickaxe, since dynamite's lower efficiency per block drains reserves that are better spent elsewhere during the main stretch of play.
Can I skip tools entirely?
You cannot skip the chisel or pickaxe, since the shop line is sequential and each unlock gates the next. The only meaningful skip is delaying the jackhammer to protect your dynamite purchase, which can be worth it if your rubble income is tight heading into the final section of a run.
The Bottom Line on the Punch Walls to Escape Best Tool
The Punch Walls to Escape best tool is the pickaxe for the bulk of any run, with dynamite reserved as the endgame finisher and the jackhammer as a situational mid-game boost. The chisel is a necessary first step that you should replace quickly, and the whole progression is a straight line rather than a branching choice. Spend on the pickaxe early, time the jackhammer to your rubble buffer, and save dynamite for the walls that actually need a blast. Get that order right and every run gets faster.