
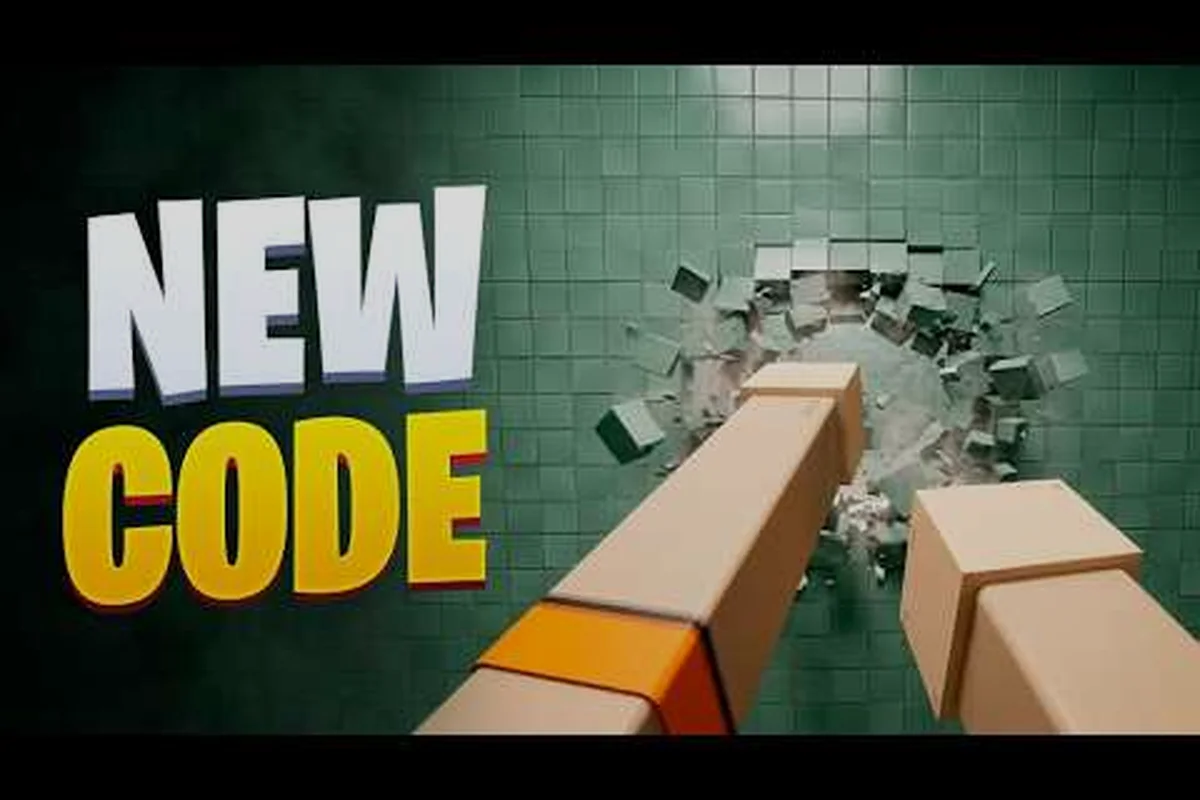
Dynamite is the last tool in the Punch Walls to Escape progression line, and it changes how you break out of a cell. This Punch Walls to Escape dynamite guide explains where the explosive sits in the tool list, how its multi-block blast works, and why it beats the jackhammer for late-game escapes.
Where Dynamite Sits in the Punch Walls to Escape Tool List
The game hands out digging tools in a fixed order, and dynamite is the final entry. You start with your bare fists, then move to a chisel, a pickaxe, a jackhammer, and finally dynamite. Each step up the ladder breaks walls faster and reaches further, so the tool you carry is the single biggest factor in how quickly you leave a cell.
Community footage from ToyTaanic's Roblox playthrough shows the loop clearly: punch a wall, vacuum the rubble, repeat, and watch your tool line advance as you progress. Nothing on the official page lists exact damage numbers, tool prices, or rubble values, so treat any specific figures you see elsewhere as player estimates rather than confirmed data.
Here is the full Punch Walls to Escape tool list in unlock order, with the role each one plays: five tiers total, running from Fists at order 1 through Chisel, Pickaxe, and Jackhammer, up to Dynamite at order 5. The first four entries all share a single-block blast radius, which is why dynamite is the only tool in the lineup that changes how many tiles a placement can clear rather than just how fast you chip one tile. Reading the table by column — order, primary role, blast radius — makes the tier-four-to-tier-five jump obvious before you ever spend time grinding for the earlier upgrades.
| Order | Tool | Primary Role | Blast Radius |
|---|---|---|---|
| 1 | Fists | Starting action, slow wall damage | Single block |
| 2 | Chisel | First upgrade, faster single-block breaks | Single block |
| 3 | Pickaxe | Mid-tier digging, better rubble yield | Single block |
| 4 | Jackhammer | Rapid single-block drilling | Single block |
| 5 | Dynamite | Multi-block explosive blast | Several blocks at once |
The key takeaway from that table is the jump between tier four and tier five. Every tool before dynamite works one block at a time, so your escape speed is capped by how fast you can chip through a single tile. Dynamite removes that cap because a single placement can open several blocks in one blast.
If you are still working through the early tiers, the beginner tool breakdown walks through the chisel-to-dynamite climb step by step. Knowing what each tool does before you reach it makes the upgrade decisions much easier.
How Punch Walls to Escape Tool Mechanics Work
Every tool in the game follows the same basic loop: aim at a wall, apply the tool, and clear the rubble it leaves behind. What separates dynamite from the rest is the area-of-effect blast. Instead of drilling into one tile, the explosive detonates and damages a cluster of adjacent blocks at the same time.
That difference matters because wall thickness is the real bottleneck in later cells. A single-block tool has to be applied repeatedly to the same spot before the wall gives way, while dynamite can punch through a reinforced section in one placement. Players report that this is the moment the game stops feeling like a grind and starts feeling like a puzzle about where to place your blast.
The core Punch Walls to Escape tool mechanics break down along two axes: damage footprint (how many blocks one action affects) and action cost (how many inputs that coverage consumes). Fists and the chisel sit at one block per hit, the pickaxe and jackhammer widen that slightly with faster swing rates, and dynamite jumps to a multi-block radius per single placement. That trade-off is why dynamite shines on reinforced walls where the jackhammer would need five or six hits to clear the same tile — but it also means each charge is a finite resource, so a misplaced blast on a corner wastes coverage you cannot reclaim. Reading the wall layout before you commit the placement is the difference between a one-charge breakthrough and a two-charge detour.
-
Single-target tools (fists, chisel, pickaxe, jackhammer) damage one block per action and require repeated hits on the same tile.
-
Area tools (dynamite) damage multiple blocks per placement, trading precision for raw coverage.
-
Rubble clearing stays part of the loop regardless of tool, so a bigger blast also means more debris to vacuum afterward.
-
Tool switching lets you mix precision and coverage, using the jackhammer for tight corners and dynamite for open walls.
Because dynamite covers more ground per action, it rewards players who plan their blast placement instead of spamming it. A well-placed charge on a thin wall section can open a path in one go, while a careless placement wastes the blast on a corner you did not need to break.
Blast Radius vs. Single-Block Drilling
The clearest way to understand the trade-off is to compare the two approaches side by side. The jackhammer is the fastest single-block tool, so it wins on precision and control. Dynamite wins on total blocks removed per action, which is what actually shortens an escape.
| Metric | Jackhammer | Dynamite |
|---|---|---|
| Blocks per action | One | Several |
| Precision | High | Low |
| Best use case | Tight corners, thin walls | Open walls, thick sections |
| Rubble volume | Moderate | High |
| Escape speed on thick walls | Slow | Fast |
The practical rule is simple: if a wall is one block thick, the jackhammer is efficient and clean. If a wall is several blocks thick or you need to open a wide gap, dynamite saves time because it removes the whole cluster at once.
Why Placement Beats Spam
Dynamite is not a tool you mash. Each blast has a fixed coverage area, so the goal is to center it on the thickest part of the wall you need to remove. Players who treat it like a faster pickaxe end up wasting charges on blocks that were already going to fall.
A useful habit is to scan the wall before you place anything. Look for the thinnest section, the corner where two walls meet, or the spot where a blast will open the widest path. That single planning step is what separates a fast escape from a slow one.
Punch Walls to Escape Tool Ranking: Dynamite vs. the Rest
Ranking the tools comes down to one question: how much wall does each one remove per action? By that measure, dynamite sits at the top of the Punch Walls to Escape tool ranking, with the jackhammer a close second for precision work and the chisel and pickaxe trailing as early-game stepping stones.
| Rank | Tool | Strength | Weakness |
|---|---|---|---|
| 1 | Dynamite | Multi-block blast, fastest thick-wall clears | Low precision, heavy rubble |
| 2 | Jackhammer | Fast single-block drilling, controllable | One block at a time |
| 3 | Pickaxe | Solid mid-game digging | Slower than jackhammer |
| 4 | Chisel | First real upgrade over fists | Limited coverage |
| 5 | Fists | Always available | Very slow |
The ranking is not just about raw speed. Dynamite earns the top spot because it solves the problem that stalls most players: thick, reinforced walls that take forever to chip through one block at a time. The jackhammer is still the better pick when you need surgical precision, which is why it holds second place rather than dropping to the bottom.
For a deeper look at how each tier compares across damage and speed, the full digging tier list ranks every tool with the same criteria used here. It is a useful companion if you are deciding which upgrade to chase next.
When the Jackhammer Still Wins
Dynamite is not always the right call, and experienced players keep the jackhammer handy for specific situations. Thin interior walls, narrow corridors, and spots where a blast would waste coverage on empty space are all jackhammer territory. The math is simple: a dynamite charge that only opens one or two tiles of a thin partition still consumes a full stick, while the jackhammer carves exactly the tiles you need with no wasted radius. That efficiency compounds in narrow corridors, where a blast's splash can clip walls you wanted intact and force a detour, whereas the jackhammer lets you punch a clean escape line straight through.
The jackhammer's precision also matters when you are clearing rubble in a tight space, since a wide blast can scatter debris into areas that are harder to vacuum up. Keeping both tools in rotation gives you the best of each: coverage when you need it, control when you do not.
How to Use Dynamite Effectively in Punch Walls to Escape
Getting the most out of dynamite is about timing and placement rather than raw power. The players who escape fastest treat each blast as a resource and plan two or three placements ahead instead of detonating the moment they reach a wall.
The order you detonate in matters as much as where you place each charge: scout and center the blast before you ever light the fuse, then clear rubble and switch to the jackhammer before spending another charge on a reinforced wall. Following this sequence keeps each dynamite placement covering the maximum number of blocks, so a single well-centered blast opens a lane that would otherwise cost two or three scattered charges.
-
Scout the wall first. Walk the length of the wall and find the thinnest section or a corner joint where a blast will open the widest path.
-
Center the blast on the thickest cluster. You want the coverage area to overlap as many blocks as possible, not spill into open space.
-
Clear rubble immediately. A big blast leaves a lot of debris, and vacuuming it right away keeps the escape lane open.
-
Switch to the jackhammer for cleanup. Use precision drilling to widen a gap or trim a corner the blast did not fully break.
-
Save charges for reinforced sections. Do not spend dynamite on walls the jackhammer could clear just as fast.
That sequence keeps your blasts efficient and your escape lane clear. The order matters because each charge only breaks blocks within its blast radius, so a centered detonation that overlaps the thickest cluster converts one dynamite into a lane wide enough to walk through, while an off-center blast wastes coverage on already-open space and forces a second charge. Pairing the blast with an immediate jackhammer cleanup also saves charges for reinforced walls, where dynamite is the only tool that breaks through. The dynamite usage walkthrough goes deeper into multi-block blast placement if you want more detail on specific wall layouts.
Pairing Dynamite With the Vacuum
The vacuum is the unsung partner of every explosive tool. Because dynamite removes several blocks at once, it generates a pile of rubble that can block your path if you ignore it. Players who vacuum as they go keep the escape route clean and avoid doubling back later.
The rhythm that works best is blast, vacuum, blast. Clear the debris from one explosion before setting the next charge, so you always have a clean lane to move through. If you are still getting comfortable with the vacuum controls, the controls guide covers keybinds and mobile touch input in detail.
Reading Walls Before You Blast
Not every wall deserves dynamite. Learning to read a wall's thickness and structure is the skill that separates efficient players from wasteful ones. A wall that looks solid from the front may be thin at the edges, and a blast placed there opens a path with a fraction of the effort.
Look for visual cues like seams, color changes, and corner joints. Those are usually the weakest points, and they are exactly where a blast pays off most. Corner joints in particular tend to hide thinner geometry than the flat center of a panel, since the wall's structural value is concentrated where two surfaces meet. A hairline seam running vertically often marks a two-layer wall, meaning a single dynamite charge placed on the seam can shear through both layers at once rather than forcing you to burn a second charge on the exposed face. Color shifts — a slightly darker patch or a scuffed texture band — usually flag a patched or hollowed section with reduced thickness, so treat those as priority blast targets before you waste a charge on solid masonry. Once you can spot these cues quickly, you stop guessing at charge placement and your dynamite budget stretches across far more walls per run.
Punch Walls to Escape Tool Mechanics: Progression and Unlock Order
The unlock order matters as much as the tools themselves. Because dynamite comes last, you need to work through the chisel, pickaxe, and jackhammer before you can use it. Rushing that progression is usually a mistake, since each tier teaches you something the next one assumes you already know.
The buy order breakdown explains the smartest sequence for picking up each tool so you are never stuck grinding with an outdated one. The short version: upgrade as soon as a new tier becomes available, because the time saved on every subsequent wall more than pays for the switch.
| Progression Stage | Tool in Hand | What Changes |
|---|---|---|
| Early cell | Fists, then chisel | Learning the punch-and-vacuum loop |
| Mid game | Pickaxe | Faster single-block breaks |
| Late game | Jackhammer | Rapid drilling on thick walls |
| Endgame | Dynamite | Multi-block blasts, fastest escapes |
Each stage builds on the last, and that sequencing is deliberate rather than incidental. By the time dynamite unlocks, you already understand rubble management (clearing debris so the next punch lands clean), wall reading (spotting which blocks are load-bearing versus breakable), and tool switching (matching the chisel, pickaxe, or jackhammer to the wall in front of you) — and that trio is exactly the foundation the explosive needs to be used well. Skipping tiers leaves you holding dynamite without the wall-reading instincts to place it where a single blast opens a multi-block escape route instead of wasting the charge on rubble you could have cleared by hand.
Why the Order Is Fixed
The game does not let you skip straight to dynamite, and that is by design. Each tool is a tutorial for the next one, teaching a specific mechanic that dynamite assumes you have mastered. Players who understand the loop before they get the explosive use it far more effectively than those who treat it as a magic shortcut.
If you are still in the early cells, focus on mastering the punch-and-vacuum rhythm rather than racing toward the endgame. That foundation is what makes dynamite feel powerful instead of clumsy. Concretely, practice chaining a punch into an immediate vacuum grab on a single wall tile until the input order becomes muscle memory, then repeat across a full row before attempting any timed detonation. This drill builds the exact hand sequence dynamite relies on: you must still punch and vacuum around the blast zone to clear debris and collect drops, so a player who has only rushed to the explosive will fumble those follow-up inputs while the fuse burns. Treat the early cells as a timing lab, not a checkpoint to sprint past.
Frequently Asked Questions
What is the strongest tool in Punch Walls to Escape?
Dynamite is the strongest tool because it damages several blocks per placement, while every earlier tool works one block at a time. It sits at the top of the tool list and is the final unlock in the progression line, which is why it clears thick walls faster than the jackhammer.
How do I unlock dynamite in Punch Walls to Escape?
You unlock dynamite by progressing through the earlier tools first: chisel, pickaxe, and jackhammer. The game hands out tools in a fixed order, so you cannot skip ahead. Keep punching walls and clearing rubble, and the explosive becomes available once you reach the end of the tool line.
Is dynamite better than the jackhammer?
It depends on the wall. Dynamite wins on thick, multi-block walls because one blast removes a whole cluster, but the jackhammer is better for thin walls and tight corners where precision matters. Most players keep both tools in rotation and switch based on the wall in front of them.
Does dynamite leave more rubble to clean up?
Yes. Because dynamite breaks several blocks at once, it generates more debris than a single-block tool. Vacuum the rubble immediately after each blast so your escape lane stays clear, and switch to the jackhammer for cleanup in tight spaces where scattered debris is harder to reach.
Can I use dynamite from the very first cell?
No. Dynamite is the last tool in the progression line, so you start with your fists and work up through the chisel, pickaxe, and jackhammer first. Each tier teaches a mechanic the explosive assumes you already know, which is why the unlock order is fixed rather than optional.
Dynamite is the payoff for working through the full Punch Walls to Escape tool list. It removes several blocks per blast, outranks the jackhammer on thick walls, and rewards players who scout their wall before placing a charge. Master the blast-vacuum rhythm, keep the jackhammer for precision cleanup, and the endgame cells stop being a grind and start being a puzzle you already know how to solve.