
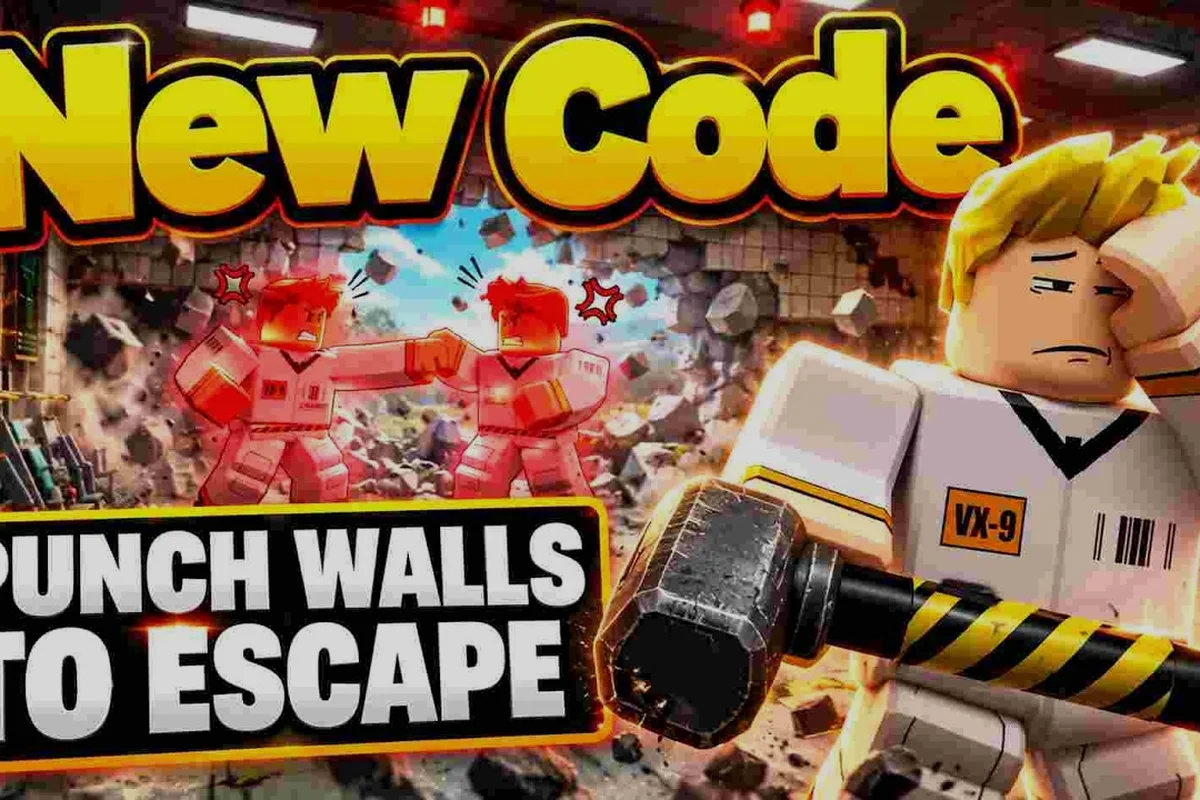
Your first hour in Punch Walls to Escape is mostly fists, rubble, and confusion about which upgrade actually matters. This Punch Walls to Escape tool guide for beginners cuts through that by walking the full tool line in order — chisel, pickaxe, jackhammer, dynamite — so you spend cash on the right unlock instead of guessing.
For a step-by-step visual walkthrough of the tool mechanics and escape routes, the Punch Walls to Escape gameplay guide demonstrates how each tool is used in practice.
How the Punch Walls to Escape Tools Line Actually Works
The Punch Walls to Escape tools do not branch. You do not pick a build or a specialization. According to community reports, the game hands you four upgrades in a fixed sequence, and each one replaces the last as your main digging option. That single fact shapes everything else in this guide, because it means your job as a new player is not choosing a tool — it is timing your purchase so the next unlock arrives before the current one starts feeling slow.
The core loop is simple to describe and easy to misplay. You punch walls to break blocks, you vacuum the rubble for cash, and you spend that cash on two upgrade tracks plus the tool line itself. Cash feeds your fists so they hit harder, and it feeds your vacuum so it collects faster. Every purchase feeds the same cycle: break faster, sell more rubble, buy the next upgrade.
Here is the tool order as the community describes it, and the sequence matters more than any single entry: bare fists first, then the chisel as your first real digging tool, the pickaxe as the safe all-round middle pick, the jackhammer for fast sustained block breaking, and finally dynamite for burst damage on big rubble clusters. Because each upgrade replaces the last as your main digging option, the practical read is that the chisel is not a stepping stone to skip — it is where precise hole placement begins, and the pickaxe only becomes worth its cost once walls get dense enough that chisel speed stalls.
| Order | Tool | Role in the Run | When It Stops Feeling Good |
|---|---|---|---|
| 1 | Bare fists | Free starter digging | Almost immediately |
| 2 | Chisel | First real tool, precise but slow | On long straight digs |
| 3 | Pickaxe | Safe all-round middle pick | Once walls get dense |
| 4 | Jackhammer | Fast sustained block breaking | Late-run long tunnels |
| 5 | Dynamite | Burst damage on big clusters | Whenever you waste it |
The important takeaway from that table is that no tool is a trap. Each one is a genuine step up, and the chisel is not a mistake you should skip — it is the first time the game gives you control over where the hole goes. The VendoPlus walkthrough of the punching and vacuuming loop shows the same progression, and it is worth watching once to see how quickly the early blocks fall compared to bare hands.
One caution before you plan anything: nothing on the official page lists exact damage numbers, tool prices, or rubble values. Treat any precise figure you see in a comment section as unverified. What you can rely on is the order and the general feel of each tool, which is what the rest of this guide covers.
Punch Walls to Escape Chisel: The First Upgrade Worth Buying
The Punch Walls to Escape chisel is the first real tool past bare fists, and it changes the game more than its modest speed suggests. It is precise, which means you can carve a clean line through a wall instead of smashing a ragged hole and hoping the tunnel stays straight. That precision matters because breaking blocks is the whole job — a wandering tunnel means wasted swings, wasted time, and rubble you have to walk back for.
What the chisel does not do is go fast. Community players consistently describe it as noticeably slower on long digs, and you will feel that on your first deep run. The fix is not to skip the chisel; it is to use it correctly.
-
Aim before you swing. Pick a straight line toward the exit and commit to it rather than chasing whichever block looks softest.
-
Vacuum as you go. Do not let rubble pile up behind you, because a clogged tunnel slows your return trip and hides your path.
-
Bank cash for the pickaxe. The chisel is a bridge, not a destination, so treat every dollar as progress toward the next unlock.
-
Stay shallow early. Short runs with fast payouts beat one long grind where you run out of patience before the upgrade.
The chisel phase is also where you learn the map layout. Because you are moving slowly, you have time to notice which directions lead toward open space and which dead-end into thick walls. That knowledge carries into every later tool, and players who rush past it usually end up with messy tunnels for the rest of the session. If you want a deeper breakdown of when each purchase pays off, the tool priority and buy order breakdown walks through the timing in more detail.
Punch Walls to Escape Pickaxe: The Safe Middle Pick
The Punch Walls to Escape pickaxe is the tool most beginners should think of as their comfort zone. It sits between the chisel's precision and the jackhammer's raw speed, and for a lot of players it is the point where the game finally feels smooth. You break blocks at a reasonable pace, you keep decent control over direction, and you are not yet dealing with the heavier walls that show up later.
Why call it the safe middle pick? Because it rarely punishes you. The chisel can feel painfully slow on a long tunnel, and the jackhammer can feel like overkill when you only need a short corridor. The pickaxe handles both situations acceptably, which makes it a good tool to learn the deeper layouts with.
| Situation | Chisel | Pickaxe | Jackhammer |
|---|---|---|---|
| Short precision tunnel | Strong | Good | Overkill |
| Medium straight dig | Slow | Strong | Strong |
| Dense late-run walls | Weak | Acceptable | Strong |
| Learning a new layout | Good | Best | Risky |
| Cash efficiency per swing | Low | High | Medium |
The pickaxe phase is where you should start thinking about the two upgrade tracks rather than just the tool line. Fists that hit harder make every tool better, and a faster vacuum means more cash per minute regardless of what you are swinging. Splitting your cash between the tool unlock and those tracks keeps your income climbing instead of stalling while you save for one big purchase.
A practical habit: after you buy the pickaxe, do three or four short runs with no tool purchases at all. Put everything into fists and vacuum speed. You will come out of those runs with a noticeably faster loop, and the jackhammer will arrive sooner than if you had hoarded cash for it directly. This is also the point where the full unlock order explained becomes useful reading, since it maps how each purchase compounds into the next.
Punch Walls to Escape Jackhammer: Speed for Dense Walls
The Punch Walls to Escape jackhammer is the first tool that feels genuinely powerful. It chews through blocks at a rate the pickaxe cannot match, and on dense walls it turns a slog into a short job. If you have been grinding through the middle of the game wondering why everything takes so long, the jackhammer is the answer.
The tradeoff is control. Speed means you can carve a wide, messy tunnel before you notice, and a messy tunnel costs you later when you have to navigate it with rubble in hand. Community players report that the jackhammer rewards a plan: pick your direction, hold it, and resist the urge to chase every promising-looking block.
-
Commit to a heading. Decide where the exit likely is and drill straight rather than zigzagging.
-
Clear rubble in batches. Let blocks accumulate slightly, then vacuum a full stretch in one pass instead of stopping constantly.
-
Watch your tunnel width. A narrow, straight corridor is faster to traverse than a wide cavern you have to cross diagonally.
-
Keep upgrading fists. The jackhammer multiplies your fist damage, so every fist upgrade pays off twice as much here.
The jackhammer phase is also where multiplayer sessions get interesting, because two players with jackhammers can split a wide wall and meet in the middle. That coordination is covered in the multiplayer co-op breakdown if you play with friends, and it is worth reading before you commit to a shared tunnel plan.
One more note on cash flow: the jackhammer is expensive enough that buying it too early can leave you with no money for the upgrades that make it shine. If you find yourself swinging a jackhammer with slow fists and a slow vacuum, you bought it a run or two too soon. Finish a couple of short payout runs first.
Punch Walls to Escape Dynamite: Save It for Last
The Punch Walls to Escape dynamite is the endgame tool, and the single most common beginner mistake is buying it before you can use it well. Dynamite is a burst tool — it clears a cluster of blocks in one action rather than grinding through them one at a time. Used on a dense wall with a clear target, it is the strongest option in the game. Used carelessly, it is wasted cash.
The reason to save dynamite for last is not that it is weak. It is that everything before it makes it better. A fast vacuum means you can collect the rubble from a big blast before it slows you down. Strong fists mean the blocks that survive the blast fall quickly. And a straight tunnel means the blast opens a useful path instead of a crater you have to route around.
| Tool | Best Use Case | Worst Use Case | Beginner Verdict |
|---|---|---|---|
| Chisel | Clean first tunnel | Long deep digs | Buy first, always |
| Pickaxe | General digging | Nothing serious | Buy second, always |
| Jackhammer | Dense walls, long runs | Short precision work | Buy third, when cash allows |
| Dynamite | Big block clusters | Scattered single blocks | Buy last, use deliberately |
If you want the mechanical detail on how the blast radius behaves and where to place a charge for maximum coverage, the dynamite mechanics guide goes deeper than this overview can. The short version for beginners: do not buy dynamite until your fists and vacuum are both upgraded enough that a big rubble pile is a payday rather than a chore.
There is also a difficulty angle here. On harder modes the walls get denser and the payouts scale, which makes dynamite more valuable — but it also makes a wasted charge more painful. The mode comparison for cash per run explains which settings reward a big blast and which punish sloppy placement.
A Beginner Buying Plan You Can Follow Today
Pulling the whole tool line into one sequence makes the early game much less stressful. Here is a plan that matches how the community describes the progression, written as a checklist you can follow run by run. The ordering is not arbitrary: each tool in Punch Walls to Escape scales off the fist and vacuum stats you already own, so the chisel, pickaxe, jackhammer, and dynamite all pay out more when the underlying upgrades are already leveled. That is why the plan front-loads cheap fist and vacuum speed before the first big tool buy, and why it saves dynamite for last — a charge on a dense rubble cluster clears fast, but only if your vacuum can sweep the debris before the next run starts.
- Run one: punch and vacuum with bare fists, learn where the rubble sells, and do not buy anything.
- Run two: buy the chisel as soon as you can afford it, then dig one straight tunnel and vacuum everything.
- Runs three to five: put all cash into fists and vacuum speed, no tool purchases.
- Run six: buy the pickaxe and use it to explore deeper layouts at a comfortable pace.
- Runs seven to ten: alternate between fist upgrades and saving toward the jackhammer.
- Run eleven onward: buy the jackhammer, then finish your fist and vacuum tracks.
- Late game: buy dynamite only after both upgrade tracks are solid, and place charges on dense clusters.
The logic behind the checklist is that tools multiply your existing stats rather than replacing them. A jackhammer with weak fists is a fast tool doing weak damage, and dynamite with a slow vacuum is a big blast you cannot clean up. Buying in this order keeps every purchase feeling like a step forward.
If you are still finding your footing in the first hour, the first-hour tips for new players covers the basics of movement, rubble handling, and reading the map that this tool plan assumes. Pair the two and you will spend far less time wondering why a run stalled.
One last habit worth building: after every tool purchase, do a short run with no upgrades at all. It resets your sense of what the tool can do and stops you from overestimating a fresh unlock. Players who test each tool on a clean run tend to keep their tunnels straighter and their cash climbing.
Frequently Asked Questions
Should I skip the chisel and save for the pickaxe?
No. The chisel is the first tool that lets you dig a controlled line, and skipping it means learning the map with bare fists. Buy it as soon as you can afford it, use it to carve one straight tunnel, then bank cash toward the pickaxe.
Is the pickaxe or jackhammer better for beginners?
The pickaxe is the better beginner tool because it is forgiving on both short and medium digs. The jackhammer is stronger but easier to waste on messy tunnels, so buy it once your fists and vacuum are upgraded enough to support the speed.
When should I buy dynamite in Punch Walls to Escape?
Buy dynamite last, once the chisel, pickaxe, and jackhammer are all in hand and both upgrade tracks are solid. It clears a cluster of blocks in one burst, but that only pays off when your vacuum can sweep the rubble fast enough and your fists can punch through whatever survives the blast. Buy it too early and you waste cash on a blast your slow vacuum can't clean up.
Do tool prices and damage numbers matter for planning?
No official table lists exact tool prices or per-hit damage, so treat any precise figure circulating in comments as unverified. What does hold up across community reports is the fixed unlock order and each tool's handling: the chisel carves a clean single-block line, the pickaxe covers short and medium digs, the jackhammer trades control for speed, and dynamite clears a cluster in one burst. Budget around that sequence and the feel of each tool rather than a spreadsheet of numbers.
Can I use tools in multiplayer runs?
Yes, and the jackhammer is especially strong in co-op because two players can split a wide wall and meet in the middle. Coordinate a heading first so your tunnels connect instead of crossing at odd angles. The practical trick is to agree on a shared depth line before either player swings: if one digs along the top row and the other along the bottom, the jackhammer's speed turns a two-block-wide wall into a single pass, and your vacuums can sweep rubble from both ends. Without that heading, you get two crooked tunnels that miss each other and waste the jackhammer's advantage over the pickaxe.
The tool line in Punch Walls to Escape is short and fixed, which is good news for beginners: there is one correct order and no build to regret. Buy the chisel early, lean on the pickaxe while you learn the layouts, bring in the jackhammer once your fists can keep up, and hold dynamite until a big blast is a payday rather than a mess. Follow that sequence and every purchase compounds into the next.