
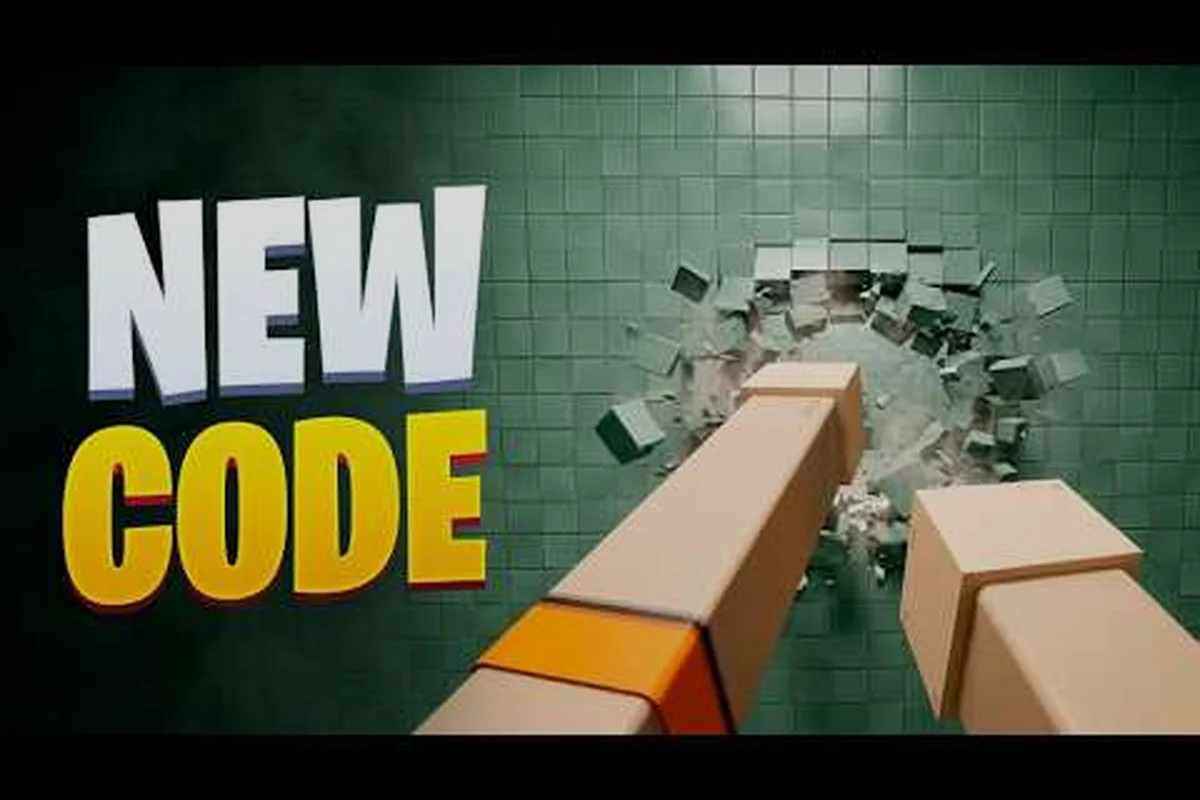
The Punch Walls to Escape mid game is where the game stops being a punching simulator and starts being a resource puzzle, because the tool line opens up and every purchase competes for the same cash. This Punch Walls to Escape mid game guide walks you through the chisel-to-dynamite stretch so your escape times actually drop instead of stalling out.
What Actually Changes When the Chisel Unlocks
The early game is simple: punch the wall, vacuum the debris, buy a fist upgrade, repeat. Once the chisel shows up, the loop stops being linear. You now have two income streams feeding three separate upgrade tracks, and the walls get thicker in a way that punishes anyone still dumping every dollar into fists.
According to community reports, the tool progression follows a fixed order with no branching: chisel, then pickaxe, then jackhammer, then dynamite. You cannot skip ahead, and you cannot buy the pickaxe before the chisel is paid off. That fixed line is the single most important fact for planning your mid game spending, because it means your cash has a known destination and you can pre-bank for it.
Here is how the mid game differs from the opening stretch: the single-input loop splits into a two-stream economy, where punching still generates cash but the vacuum now consumes your attention as debris chunks grow larger, and the chisel unlock forces a choice between banking toward the next tool in the fixed line or topping up fist damage that no longer keeps pace with wall density. In practice, a run that reaches the chisel typically sees its escape time stretch well past the opening segments, which is why players tracking record escape times start treating the chisel purchase as the moment the straight tunnel strategy gives way to deliberate pre-banking for the pickaxe.
-
Wall density increases — later segments need more hits per block, so raw fist damage alone stops scaling fast enough.
-
Debris volume grows — bigger chunks mean your vacuum becomes a bottleneck before your punching does.
-
Tool costs jump sharply — each new tool in the line costs noticeably more than the last, so saving becomes a real decision.
-
Escape time becomes measurable — once you have a chisel, runs are long enough that shaving seconds matters.
The practical takeaway is that the mid game rewards planning two purchases ahead. If you spend everything the moment you can afford a fist upgrade, you will hit the pickaxe wall with an empty wallet and a vacuum that cannot keep up.
The Growth Loop Explained: Cash In, Tools Out
Understanding the growth loop is the difference between grinding for an hour and grinding for twenty minutes. Cash comes from two places: punching walls (which drops debris) and vacuuming that debris (which converts it to money). Both halves of that loop have their own upgrade track, and the tool line sits on top of both as a third sink.
The loop looks like this in practice, and the key is reading the cash-per-minute rate rather than the raw cash total: a single wall segment typically takes 4–6 punches at base fist power, so a fresh run nets only a handful of debris per segment before your vacuum speed becomes the bottleneck. Early on, dumping your first cash into vacuum speed is usually the faster gain — a slow vacuum means debris piles up on the floor uncollected, and uncollected debris is income you already earned but cannot bank. Once vacuum keeps pace with your punch rate, shift spending to fist power to shorten each break, then save toward the next tool only when its price is within roughly one or two wall segments of your current balance.
-
Punch a wall segment until it breaks and drops debris.
-
Vacuum the debris to convert it into cash.
-
Spend cash on fist power, vacuum speed, or the next tool in the line.
-
Use the stronger tool to break walls faster, which drops more debris per minute.
-
Repeat with a higher cash-per-minute rate.
The trap is treating step 3 as "always buy the tool." Tools are the biggest single jump in break speed, but they are also the most expensive, and a tool you cannot afford yet does nothing for you. The core loop breakdown covers how the bottomless bucket and debris conversion interact, which matters here because a slow vacuum caps your income no matter how hard you punch.
Why Vacuum Upgrades Pay Off Mid Game
A lot of players ignore the vacuum track once they have a decent fist, and that is a mistake in this stretch. Debris volume scales with wall density, so a mid-tier vacuum leaves money sitting on the floor while you punch the next block. Community testing suggests that keeping vacuum within roughly one upgrade tier of your fists keeps your cash-per-minute climbing steadily instead of plateauing.
The math is straightforward: if your vacuum clears debris in four seconds but your fists break a block in three, you are losing a second per block to cleanup. Over a long run that compounds into minutes of lost escape time.
| Upgrade Track | Mid Game Priority | Why It Matters |
|---|---|---|
| Fist power | High early, medium later | Break speed sets your ceiling, but tools overtake it |
| Vacuum speed | Medium-high, easy to neglect | Caps income if it lags behind debris volume |
| Tool line | Highest single upgrade | Biggest break-speed jump per purchase |
| Banking for next tool | Situational | Pre-saving avoids dead time at cost walls |
Tool Line Comparison: Chisel, Pickaxe, Jackhammer, Dynamite
Each tool in the line changes how you should spend the next few minutes. The chisel is your first real multiplier, the pickaxe is the mid game workhorse, the jackhammer is where runs get fast, and dynamite is the payoff that makes record escape times possible.
| Tool | Relative Cost | Break Speed Gain | Best Use Window |
|---|---|---|---|
| Chisel | Low | Moderate | First unlock, immediately after early fists |
| Pickaxe | Medium | Strong | Main mid game grinding stretch |
| Jackhammer | High | Very strong | Once vacuum keeps pace with debris |
| Dynamite | Highest | Massive | Final push and speedrun attempts |
Chisel: The First Real Multiplier
The chisel is cheap enough that you should buy it the moment it appears rather than banking for fists. It gives you a break-speed jump that outpaces anything a single fist upgrade provides at that price, and it starts the tool line so the pickaxe becomes visible. Skipping or delaying the chisel just extends the slowest part of the game.
Pickaxe: Where Most Runs Live
The pickaxe is the tool you will use for the largest share of your mid game time, so it deserves the most attention. Once you own it, the correct play is to push vacuum upgrades until debris clears cleanly, then bank toward the jackhammer. If you find yourself standing around waiting for debris to vanish, your vacuum is behind and your cash rate is suffering.
Jackhammer and Dynamite: The Speed Window
The jackhammer is the first tool that makes walls feel genuinely soft, and it is also the point where escape time becomes a stat worth tracking. Dynamite sits at the end of the line as the most expensive purchase in the game, and it is what separates a comfortable escape from a record attempt. If your goal is a fast run, dynamite is not optional.
How to Progress Faster in the Mid Game
Progress faster tips for this stretch all come back to one idea: never let cash sit idle and never let a bottleneck persist. The players who escape quickly are not doing anything secret, they are just removing friction in the right order.
-
Buy the chisel on sight. Delaying it costs you more than it saves.
-
Keep vacuum within one tier of fists. A lagging vacuum silently halves your income.
-
Pre-bank for the pickaxe. Once the chisel is bought, start saving before you can afford the pickaxe so you buy it the second it unlocks.
-
Do not over-invest in fists after the pickaxe. Tools overtake fist scaling in this stretch.
-
Track your runs. Writing down your escape time gives you a baseline to beat.
The upgrade build guide goes deeper on the fists-first versus tools-first argument, and the short version is that fists win the opening minutes while tools win everything after the chisel. Concretely, fist damage scales fast enough early that punching walls clears your first few rooms without spending a single dollar, but once the chisel unlocks and the pickaxe pre-bank is underway, every further fist level returns less per dollar than the equivalent tool tier. That crossover is why the checklist above tells you to stop over-investing in fists after the pickaxe: the mid game rewards whichever upgrade removes your current bottleneck soonest, not whichever stat looks highest on the panel.
Spotting Your Main Progress Blocker
The fastest way to diagnose a slow run is to watch what you are doing while waiting. If you are waiting on the wall, your break speed is the bottleneck and a tool or fist upgrade fixes it. If you are waiting on debris to disappear, your vacuum is the bottleneck. If you are waiting on nothing but cannot afford the next purchase, you are in a normal saving phase and should just keep punching.
That three-way check takes about ten seconds and tells you exactly where the next dollar should go, which is more useful than any fixed upgrade order. The reason a fixed order fails is that the growth loop is self-correcting: overspend on fist damage while your vacuum lags and debris piles up, throttling your effective break rate; overspend on vacuum while your punch is weak and you clear nothing to vacuum. Reading the bottleneck keeps your straight tunnel strategy honest, because a stalled run almost always traces back to one underfunded stat rather than bad luck. Run the check every few purchases and your time to escape tightens without ever buying a single upgrade you did not need.
The Straight Tunnel Strategy and Best Path to Exit
The straight tunnel strategy is the mid game's biggest time saver, and it is easy to get wrong. The idea is to commit to one direction and dig a single continuous line toward the exit rather than spreading damage across multiple walls. A straight tunnel means every block you break is progress, while a scattered approach means you break blocks that lead nowhere.
Community players consistently report that a single committed tunnel beats exploratory digging, because backtracking costs both punching time and vacuum range. The straight tunnel walkthrough covers the geometry in detail, but the mid game rule is simple: pick your line early, and do not second-guess it once the pickaxe is in hand.
| Path Choice | Time Cost | Risk |
|---|---|---|
| Single straight tunnel | Lowest | Requires committing early |
| Zig-zag exploration | High | Wasted blocks, backtracking |
| Multi-tunnel parallel | Very high | Splits vacuum coverage |
Recording Escape Times
Once you have the jackhammer, start timing your runs. Recording escape times turns a vague grind into a measurable goal, and it exposes which purchase actually helped. A run that drops from a long slog to a noticeably shorter one after a vacuum upgrade tells you more than any guide can, because it is your own data.
Keep a simple note of the tool you finished with and the time it took. After three or four runs you will see the pattern clearly, and you will know whether your next dollar belongs in fists, vacuum, or the bank for dynamite.
Common Mid Game Mistakes That Stall Progress
Most stalled runs share the same handful of causes, and all of them are fixable within a single session. The progression route guide frames these as route decisions, which is the right way to think about them: every mistake here is a spending decision, not a skill issue.
-
Buying fists after the pickaxe. Diminishing returns hit hard once tools carry your break speed.
-
Ignoring the vacuum entirely. The most common cause of a stalled cash rate.
-
Hoarding cash for dynamite too early. Dynamite is the last purchase, not the next one.
-
Digging in circles. No tunnel discipline means wasted blocks and wasted time.
-
Never timing a run. Without a baseline you cannot tell if anything improved.
The fix for all five is the same discipline: know which tool is next, keep vacuum honest, and commit to one tunnel. That combination alone typically moves a mid game run from a long grind into a tight, repeatable escape.
Frequently Asked Questions
What order do the tools unlock in Punch Walls to Escape?
The tool line is fixed: chisel first, then pickaxe, then jackhammer, then dynamite. You cannot skip ahead or buy out of order, so plan your cash around the next tool in the sequence rather than saving for something further down the line.
How long should a mid game run take?
There is no official benchmark, but community players report that a clean mid game run with the jackhammer in hand is dramatically shorter than an early game run. Track your own times and aim to beat your previous best rather than chasing a specific number.
Should I upgrade fists or vacuum first in the mid game?
Keep them roughly balanced, with vacuum never more than one tier behind your fists. A vacuum that lags behind debris volume silently caps your income, which slows every other purchase including the tool line. Concretely, if your fists are clearing blocks at jackhammer speed but your vacuum is still on its pickaxe-era tier, the debris piles up faster than it can be collected, and every second spent waiting on collection is a second your escape timer keeps running. Treat the vacuum as a hard prerequisite, not a luxury: before you bank for dynamite, confirm the vacuum tier matches the blocks your current tool can break, or the saved cash you're sitting on is quietly being eaten by stalled income.
Is the straight tunnel strategy always better?
For most players, yes. A single committed tunnel means every block you break is forward progress, while zig-zag digging wastes blocks and forces backtracking. The exception is if you commit to a line that dead-ends, which is why picking your direction early matters.
When should I start saving for dynamite?
Saving for dynamite only makes sense after the jackhammer is bought and your vacuum keeps pace with debris. Buying dynamite earlier starves your mid game income: the tool line forces chisel, pickaxe, and jackhammer first, so any cash diverted to dynamite delays the jackhammer that actually speeds up block breaking. The result is a slower stretch overall, even though dynamite is the strongest tool in the game.
The mid game in Punch Walls to Escape is really a spending discipline test. Buy the chisel on sight, keep your vacuum honest, commit to one straight tunnel, and bank for each tool in order rather than jumping ahead. Do that and your escape times will fall run after run, with dynamite as the final piece that turns a good run into a record one.