
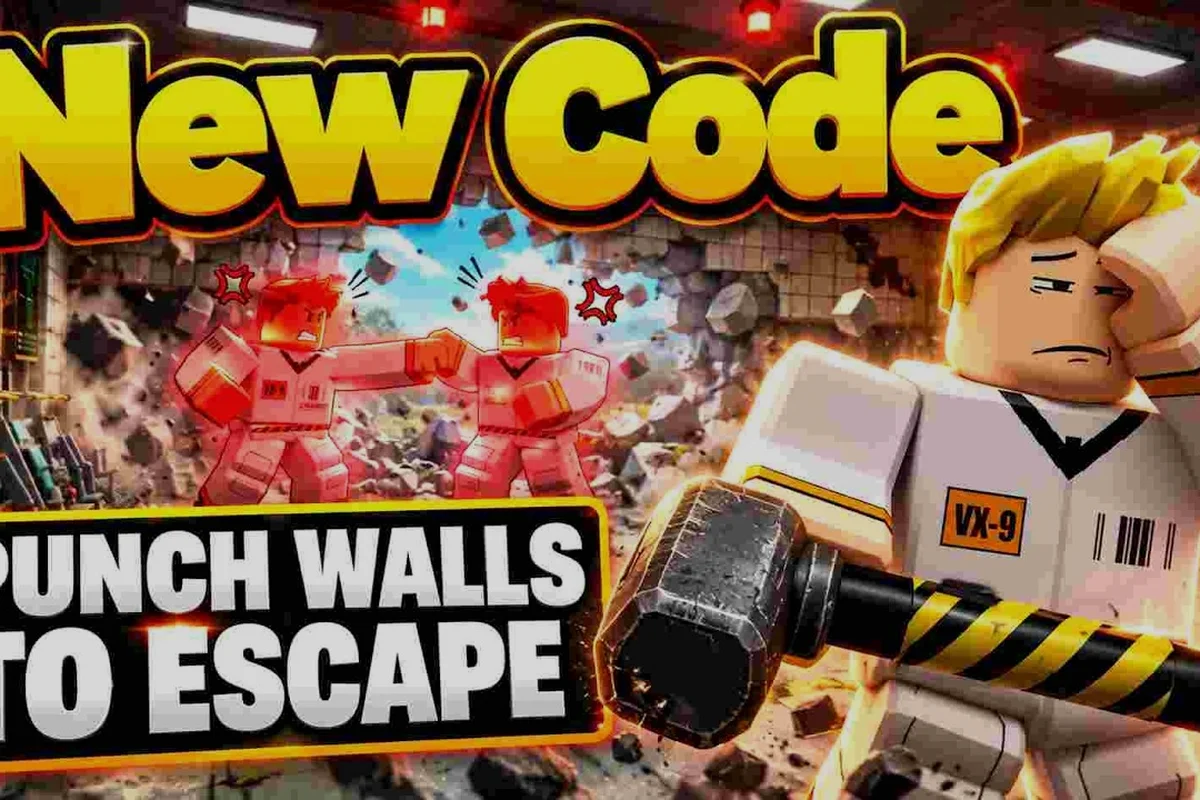
The Punch Walls to Escape Chapter 2 unlock is not a button you press or a menu you open — it is a job you finish. Once you clear the first cell, a new face appears in the block: Big Tony, a giant cellmate who also wants out, and the only way forward is to dig Big Tony a door wide enough for him to squeeze through. That single task is the real trigger, and understanding it saves you a lot of confused punching.
This guide breaks down what actually gates the second chapter, how the huge cellmate changes your digging plan, and what the Chapter 2 summary looks like once you are inside. If you have been hammering walls with no progress, the problem is almost certainly door size, not effort.
What Actually Triggers the Punch Walls to Escape Chapter 2 Unlock
The unlock condition is tied to completing your escape in Chapter 1 and then satisfying Big Tony's request. According to community reports and the walkthrough footage circulating after launch, the game does not hand you a cutscene or a prompt that says "Chapter 2 begins now." Instead, the new chapter opens up through gameplay: you keep digging, but the tunnel you are carving has to fit someone much larger than your own character.
| Unlock gate | What the game checks | What players report seeing | Confirmed on official page? |
|---|---|---|---|
| Chapter 1 escape complete | Cell block state update after your own breakout | Giant cellmate appears near your old cell | No |
| Big Tony request logged | Interaction/approach registers only after the state change | Approaching before finishing breakout registers nothing | No |
| Door sized to Big Tony's hitbox | Opening must clear his shoulders and head, not yours | A door your character clears cleanly still blocks him | No |
| Chapter 2 transition | Fires once the opening fits Big Tony | No cutscene or "Chapter 2 begins now" prompt | No |
| Exact flip frame | Undocumented trigger timing | Treated as unconfirmed at frame level | No |
Here is the practical sequence players describe, and the order matters more than the individual steps: the giant cellmate only spawns near your old cell after the Chapter 1 cell block state updates, so approaching Big Tony before finishing your own breakout registers nothing. Once his request is logged, every wall you punch is measured against his hitbox rather than yours — a door that lets your character through cleanly will still block him, which is why the transition refuses to fire until the opening clears his shoulders and head.
-
Finish your own breakout in Chapter 1 so the cell block state changes.
-
Notice the giant cellmate now occupying the space near your old cell.
-
Talk to or approach Big Tony to register his request.
-
Dig a passage sized for him, not for you.
-
Trigger the transition once the opening is large enough.
The exact moment the chapter flips is not documented on any official page, so treat the trigger as unconfirmed at the frame level — but every reliable account agrees the door size is the gate. You can read a fuller narrative breakdown in the Chapter 2 Big Tony walkthrough if you want the story context before you start swinging.
Why the Game Hides the Trigger
Punch Walls to Escape is built around a simple loop: punch, vacuum the debris, repeat. The developer never interrupts that loop with a tutorial pop-up for chapter transitions, which is deliberate — the game wants you to discover the gate by hitting a wall that will not break for you. Players who assume the second chapter is locked behind a timer or a level requirement waste hours. Players who realize the wall is a size check move on in minutes.
That design choice also explains why so many early players reported being "stuck." Community videos from the first weeks after launch show the same pattern repeatedly: someone digs a normal human-sized hole, walks through it, and finds Big Tony still standing there because the opening is too narrow for him.
Big Tony Explained: The Giant Cellmate Who Changes Your Plan
Big Tony is the defining feature of the second chapter, and understanding him is the whole unlock. He is not a boss, not a timer, and not a puzzle box — he is a huge cellmate with a simple need: a doorway his body can pass through. Your job is to dig Big Tony a door, and the width of that door is the entire mechanic.
| Element | Chapter 1 Behavior | Chapter 2 Behavior |
|---|---|---|
| Tunnel width | Sized for your character | Must fit Big Tony |
| Digging target | Any wall toward the exit | A door wide enough for the giant cellmate |
| Progress gate | Breaking through | Opening large enough to pass |
| Failure state | Wall stays intact | Door too small, Big Tony cannot follow |
| Player feedback | Debris clears | Visual size check on the opening |
The table above captures the shift in mindset. In the first chapter you optimize for speed — find the thinnest wall, punch through, vacuum, leave. In the second chapter you optimize for clearance, because a fast tunnel that Big Tony cannot use is a wasted tunnel.
How Big Does the Door Need to Be?
Community testing suggests the opening needs to be noticeably wider and taller than a standard character-sized hole, roughly the footprint of the giant cellmate's model plus a small margin. Nobody has published a pixel-perfect measurement, and the game does not display one, so the reliable method is visual: stand in the opening and check whether Big Tony's shoulders clear both sides. If any part of him clips the frame, keep punching.
For a deeper look at the sizing question, the Big Tony size breakdown walks through how the door dimensions interact with the tunnel you already dug. The short version: build wide first, then extend forward. Widening an existing narrow tunnel is more work than starting a fresh opening at the right size.
How to Dig Big Tony a Door Without Wasting Time
The efficient route to the Punch Walls to Escape Chapter 2 unlock is a two-phase dig: carve the corridor, then widen the mouth. Doing both at once sounds faster but usually produces a lopsided tunnel that fails the size check anyway. Here is the workflow that community players converge on.
-
Scout the wall first. Pick a section with no internal supports or clutter so the opening stays clean.
-
Punch a standard corridor toward the exit direction, clearing debris as you go so your path stays visible.
-
Return to the entrance and widen it to Big Tony's footprint before pushing deeper.
-
Test the fit by walking Big Tony toward the opening — if he stops, the door is still too small.
-
Extend forward only after the mouth passes the size check.
-
Vacuum as you widen, because loose debris obscures the edges you need to judge.
That sequence keeps your effort concentrated where it matters, because every dig swing spent widening mid-corridor risks collapsing the tunnel profile before the size check ever runs. The order also front-loads the riskiest variable: Big Tony's footprint. If the mouth fails his fit test, you find out at step four with a short, cheap tunnel to rework instead of a full-length corridor that has to be re-dug from the entrance. The Big Tony escape route guide expands on widening technique if you want the full tunnel-for-two method, including how to read the debris edges while vacuuming.
Common Digging Mistakes
-
Digging tall but not wide. Big Tony's width is the binding constraint, not his height.
-
Widening from the far end. You cannot judge the mouth size from inside the tunnel.
-
Ignoring debris. Piles hide the true edge of the opening and make it look bigger than it is.
-
Restarting the whole tunnel. Widen the entrance instead; the corridor behind it is still good.
-
Assuming a cutscene will fire. The transition is gameplay-driven, so keep testing the fit.
Individually, each of these mistakes costs minutes rather than progress, but together they compound into a full session lost on a door that was never going to work. The most expensive combination is digging tall but not wide while ignoring debris: the pile hides the true edge of the opening, so Big Tony's width clearance looks satisfied when it isn't, and every subsequent test-fit fails the same way. Widen the entrance first, clear the rubble so you can read the mouth honestly, and re-test the fit after each pass — the Chapter 2 transition only fires once the hitbox genuinely clears.
Punch Walls to Escape Chapter 2 Summary: What the Second Chapter Contains
Once the door fits, the Punch Walls to Escape Chapter 2 unlock resolves into a short but distinct chapter. The content is built around escorting the giant cellmate rather than escaping alone, which flips the pacing: you move slower, you plan openings more carefully, and you cannot simply outrun a bad tunnel.
| Phase | What Happens | Your Focus |
|---|---|---|
| Arrival | Big Tony appears in the block | Register his request |
| Digging | You carve a corridor | Keep the path straight |
| Widening | You enlarge the entrance | Match his footprint |
| Escort | Big Tony follows you out | Keep the route clear |
| Transition | Chapter state flips | Confirm the exit works |
The chapter is short by design — it is a single extended objective rather than a full new map. Players who expected a large second act were disappointed, while players who treated it as a co-op-flavored twist on the core loop enjoyed it. The Chapter 2 release timeline covers how the content rolled out and what the developer added alongside it.
What Comes After the Door
Once Big Tony is through, the chapter closes and the game returns you to its core loop with a new state saved. There is no separate boss or scoring screen, which is why the unlock feels abrupt to some players. If you want to know what the game offers past that point, the after escape Chapter 2 overview maps out the post-chapter content and how it connects to the broader progression.
Practical Tips for a Clean Unlock Run
Beyond the door itself, a few habits make the whole run smoother — and most of them trace back to one quirk of the fit check: Big Tony's collision box is wider than his visible model, so a tunnel that looks passable can still fail the escort. These come from community play patterns rather than official documentation, so treat them as field-tested rather than guaranteed. The tips below assume you've already opened the wall; each one targets a specific failure mode that shows up repeatedly in Chapter 2 unlock attempts.
-
Clear debris immediately after each punch. Vacuuming keeps the tunnel readable and prevents false size reads.
-
Dig in one direction. Zig-zag corridors make widening the entrance much harder.
-
Widen before you extend. Front-load the size work so you never have to backtrack.
-
Watch Big Tony's model, not the hole. His shoulders tell you the truth faster than your own judgment.
-
Save your progress state before the escort. If the fit check fails, you want a clean retry.
The underlying mechanic is the same one that governs the whole game: a straight, well-cleared tunnel beats a clever, messy one. The straight tunnel digging guide explains why that principle holds across both chapters and how to apply it when the corridor has to fit two characters instead of one.
When the Door Still Will Not Work
If you have widened the entrance and Big Tony still will not pass, the issue is usually one of three things: a debris pile narrowing the effective opening, a corridor bend that traps his model, or a wall segment you never fully broke. Walk the route yourself first — if you have to squeeze, he definitely cannot pass. Then clear every pile and re-check the mouth before punching anything new.
Frequently Asked Questions
What is the actual trigger for the Punch Walls to Escape Chapter 2 unlock?
The trigger is completing Chapter 1 and then digging a door large enough for Big Tony to pass through. There is no menu unlock or timer; the chapter state flips once the giant cellmate can physically reach the exit through the opening you carved.
How wide does the door for Big Tony need to be?
Wide enough that his model clears both sides with a small margin. The game gives no numeric measurement, so use the visual test: if his shoulders clip the frame, keep widening. Community players consistently report that width matters more than height here.
Can I skip Big Tony and just escape alone?
No. The second chapter is built around the huge cellmate, and the transition does not fire until he can follow you out. Digging a human-sized tunnel and leaving will simply leave you standing at the exit with the chapter still open.
Is Chapter 2 a full new map or a short objective?
It is a short, focused chapter rather than a full second map. The content centers on the digging and escort sequence, then returns you to the core loop. Players expecting a large new area are often surprised by how quickly it resolves.
Does the unlock work the same on mobile and PC?
The size check is identical across platforms as far as community reports show, but input method changes the pace: mouse and keyboard let you carve and re-test the Big Tony opening in quick bursts, while touch controls make each widening pass slower, so mobile players should expect a longer dig-and-check loop before the giant cellmate clears the frame. The visual test itself — shoulders clipping the frame means keep widening — never changes, so the same rule applies on every version.
Final Thoughts on the Chapter 2 Unlock
The Punch Walls to Escape Chapter 2 unlock comes down to one idea: the second chapter is not hidden behind a secret, it is hidden behind a doorway that is too small. Once you accept that the gate is physical size rather than progress flags, the whole sequence becomes straightforward — clear Chapter 1, meet the giant cellmate, dig Big Tony a door with real clearance, and test the fit before you commit to a long corridor.
Everything else is execution. Keep your tunnel straight, vacuum the debris so you can judge the opening honestly, and widen the mouth before extending forward. Do that and the transition fires without any guesswork, and you can move on to whatever the game has queued up next.