
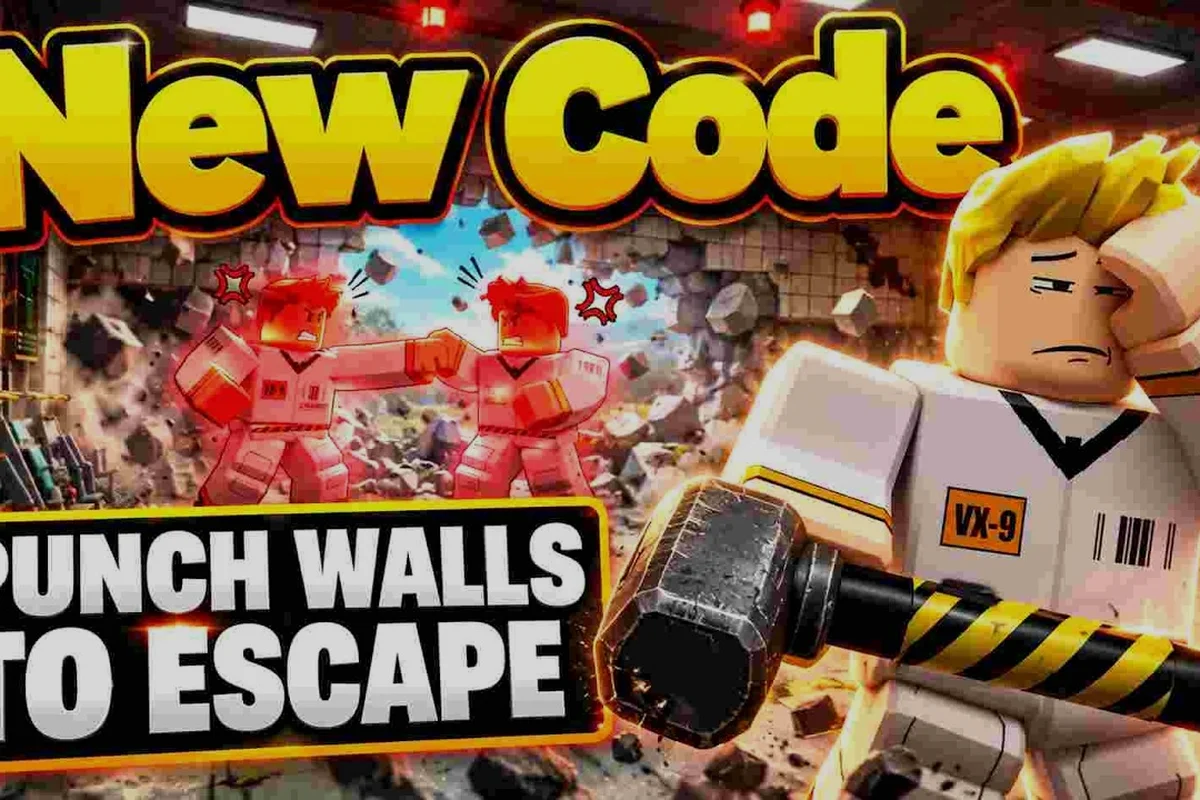
Every wall block you break in Punch Walls to Escape turns into rubble, and rubble is the only thing that converts into cash — so understanding how rubble works is the difference between a slow grind and a fast payout. The moment you punch a block loose it drops as debris, and it stays on the floor until your vacuum pulls it in. Miss that step and you are literally leaving money on the ground.
The loop is simple but the details are not: punch physics decide how blocks break, block types decide what they drop, and your vacuum capacity decides how often you have to walk back to the Bottomless Bucket. Get all three aligned and your money per minute climbs fast. Get them wrong and you spend half your run staring at a pile you cannot pick up.
The rubble pipeline: from wall block to bucket cash
Rubble is not a separate resource you find lying around — it is the physical remains of a wall block you just destroyed. According to community gameplay footage, the sequence is always the same: punch a block loose, watch it break into debris, vacuum the debris, then dump the load into the Bottomless Bucket for an instant cash payout. Nothing about that chain is optional.
The important part for new players is that rubble has weight and volume. It occupies space in your vacuum, and that space is finite. The Bottomless Bucket itself never fills up, but your carrying capacity does, which means the real bottleneck in the loop is not the bucket — it is how much rubble you can hold before you have to walk back.
Here is the full pipeline with what actually happens at each stage, and the key detail is that every stage has its own failure point. In the Break stage, a punched block detaches and shatters into rubble pieces, so punching the same spot again after it is gone wastes a swing. In the Settle stage, debris scatters near the wall base before it can be vacuumed, which is why walking away too early leaves pickups behind. The Collect stage pulls debris into your vacuum storage, and the Haul stage keeps rubble in storage until you dump it — overfilling here costs pickup time on the next wall. The Dump stage credits instant cash to your total the moment rubble enters the Bottomless Bucket, so partial loads dumped too often just add trips.
| Stage | Action | What Happens | Common Mistake |
|---|---|---|---|
| 1. Break | Punch a wall block | Block detaches and shatters into rubble pieces | Punching the same spot after it is already gone |
| 2. Settle | Rubble falls to the floor | Debris scatters near the wall base | Walking away before it lands |
| 3. Collect | Vacuum the rubble | Debris is pulled into your vacuum storage | Vacuuming air instead of aiming at the pile |
| 4. Haul | Carry the load to the bucket | Rubble stays in storage until dumped | Overfilling and wasting pickup time |
| 5. Dump | Empty into Bottomless Bucket | Instant cash credited to your total | Dumping partial loads too often |
The Bottomless Bucket is the payout point, and it is genuinely bottomless — you never need to worry about it overflowing or needing an upgrade. That means every decision you make should be about getting rubble into it faster, not about the bucket itself. The vacuum guide breaks down storage capacity and dump timing in more detail if you want to optimize that half of the loop.
One thing worth internalizing early: rubble does not expire and it does not despawn quickly, but it does clutter the floor. If you break three walls and vacuum none of them, you are standing in a mess that slows your movement and makes it harder to see the next block to punch. Clean as you go.
Punch physics: why some blocks break faster than others
The punch system is not a uniform "hit button, block disappears" mechanic. Community reports describe a block-by-block break model where each punch applies force to a single block, and the block's own properties determine how many hits it takes and how much rubble it produces. This is the core of Punch Walls to Escape punch physics, and it is where most players form bad habits.
A block that breaks in one hit feels great, but it also drops less rubble per punch than a tougher block that takes several hits. That trade-off matters when you are calculating money per minute, because time spent punching is time not spent vacuuming or hauling. The how it works overview walks through the punch-vacuum-sell cycle as a whole, which is useful context before you start optimizing individual swings.
Three physics behaviors show up consistently in player footage: impact point matters, since striking the center of a block yields a cleaner break while edge clips leave partial debris that still needs vacuuming; repeated hits on one block beat spreading punches across many, because every block must hit its own break threshold before dropping any rubble at all; and rubble scatter radius scales with block toughness, so a hard block's debris fans out wider and costs more vacuum time. The middle behavior is the real money-per-minute lever — chip damage on five blocks produces zero rubble, while five focused punches on one soft block clears it and pays out in the same number of swings.
-
Impact point matters — hitting the center of a block produces a cleaner break than clipping an edge, which can leave partial debris.
-
Repeated hits on one block are more efficient than spreading punches across many blocks, because each block has to reach its break threshold before it drops anything.
-
Rubble scatter radius grows with block toughness, so harder blocks leave debris spread wider and take longer to vacuum up.
That last point is the one people underestimate. A tough block might pay more, but if its rubble scatters across a wide area you spend extra seconds chasing pieces. On a tight timer, a wall of soft blocks can actually out-earn a single hard block.
Block types and what each one drops
Not every wall block is created equal, and recognizing block types on sight is a skill that pays for itself immediately. Based on community data, blocks fall into rough tiers defined by break time, rubble yield, and how much vacuum space the resulting debris consumes. The visual cue is usually color and texture, so learn the palette before you start swinging.
| Block Type | Hits to Break | Rubble Yield | Vacuum Space Used | Best Use Case |
|---|---|---|---|---|
| Soft / cracked blocks | 1 | Low per block | Small | Fast clearing, quick early cash |
| Standard wall blocks | 2-3 | Medium | Medium | Reliable income, main grind |
| Reinforced blocks | 4-5 | High | Large | Worth it when you have capacity |
| Dense / core blocks | 6+ | Highest | Very large | Late-run targets only |
The practical takeaway is that soft blocks are your money-per-minute engine early on, because you can chain breaks and vacuum small loads quickly. Reinforced and dense blocks become worth the time investment once your vacuum capacity is upgraded enough to hold their debris without forcing an extra trip.
Players report that mixing block types in a single run is usually a mistake in the first few minutes. Pick a lane — either blitz soft blocks for volume or commit to a hard block for a big single payout — and finish it before switching. Half-clearing a reinforced block and wandering off wastes the punches you already invested.
If you want the full breakdown of which blocks to prioritize at each stage, the cash flow guide covers payout timing and route planning around block density. The core reason block choice matters so much is the vacuum-space bottleneck: a dense/core block's debris can eat a large chunk of your capacity in one break, so if your vacuum is still at base level you'll fill up mid-break and stall your punch chain waiting on a trip. Community testing suggests the efficient threshold is matching block tier to vacuum capacity — blitz soft blocks for fast money-per-minute until your vacuum is upgraded, then graduate to reinforced blocks whose high rubble yield finally fits without forcing an extra haul. Route planning around block density in the cash flow guide follows the same logic: cluster same-tier blocks so each vacuum trip clears a full lane instead of a mixed grab-bag.
How to clear rubble efficiently
Clearing rubble is where the run is won or lost, and it comes down to three habits: aim, sweep order, and trip discipline. The vacuum pulls debris in a cone in front of you, so pointing it at the densest cluster first is always correct. Sweeping from the wall outward catches the pieces that scattered farthest before they get buried under new debris.
Trip discipline is the habit most players never build. Every trip to the bucket costs travel time in both directions, so the goal is to make each trip as full as possible without overfilling and wasting pickup time on rubble you cannot store. A good rule of thumb from community testing is to dump at roughly 85-90% capacity rather than waiting for a perfect fill, because the last few percent often requires chasing scattered pieces across the room.
A clean clearing routine looks like this: break a tight cluster of blocks so the debris lands in one concentrated pile instead of scattering across the floor, then give the rubble a moment to settle before the vacuum cone touches it. Vacuuming from the pile's center outward in a spiral keeps the densest mass under suction longest, so heavy chunks get pulled in before they roll toward the walls. Skipping the settle beat or sweeping edge-first scatters pieces you then have to chase, which is exactly the travel time the 85-90% dump rule is trying to protect.
-
Punch a cluster of blocks until they all break, rather than one block at a time across the whole wall.
-
Let the debris settle for a beat so it stops moving.
-
Vacuum from the center of the pile outward in a spiral.
-
Check the floor edges for stragglers before turning around.
-
Dump at high capacity, then immediately return to the same wall face.
That last step matters more than it sounds. Returning to a wall you already opened means the next blocks are already exposed, so you skip the setup punches. Players who clear one wall face completely before moving to a new one consistently report better money per minute than players who roam.
Sell rubble fast: timing your dumps for money per minute
Money per minute is the only metric that matters in this game, and it is calculated as total cash divided by total run time — which means every second not spent punching, vacuuming, or dumping is a second dragging your average down. Selling rubble fast is not about a hidden trick; it is about removing dead time from the loop.
The biggest dead-time sources, ranked by how much they cost, all share one root cause: the vacuum only credits you when a load leaves it, so every second spent walking with a half-full tank or re-cleaning ground you already broke is pure negative money per minute. A partial-load trip to the bucket is the worst offender because you pay the full walk cost twice — once out, once back — while carrying less rubble than the vacuum can hold; filling to 85-90% before dumping splits that travel time across more cash per trip.
| Dead-Time Source | Typical Cost | Fix |
|---|---|---|
| Walking to bucket with a partial load | High | Fill to 85-90% before dumping |
| Vacuuming scattered edge debris | Medium | Sweep outward immediately after break |
| Re-punching already-broken spots | Medium | Track which blocks are gone |
| Standing still after a dump | Low but constant | Turn and move the instant cash credits |
| Switching block types mid-cluster | Low | Commit to one cluster at a time |
The instant payout on dump is the mechanic that makes this loop feel good — there is no processing delay, no waiting for cash to "cook." The moment the load leaves your vacuum, the money is yours. That means the optimal play is to dump and immediately pivot back toward the wall, not to pause and admire the number.
That payoff math is exactly why the progression guide is worth reading alongside this section: it maps out when each improvement — faster punch breaks, larger vacuum capacity, quicker movement between wall and bucket — actually pays back in cash per minute, so you can tell which upgrade shortens your dump cycle versus which one just looks good on paper. Treat it as the planning layer under the dump-and-pivot habit described above.
Reading your own money per minute
Track two numbers: how long a full loop takes (punch to dump to back at the wall) and how much cash that loop produced. If your loop time is creeping up, something in the clearing routine is leaking seconds. Most often it is overfilling the vacuum or chasing a single stray piece of rubble across the room instead of letting it go.
Common rubble mistakes that stall your income
Almost every stalled run traces back to one of four mistakes, and all four are fixable within a single session. The first is vacuuming before the debris settles — pieces still in motion can slip past the cone and end up behind you, forcing a second pass. Give it a half-second.
The second is punching past the break point. Once a block shatters, additional punches hit empty air. Community footage shows this constantly in fast runs: players hammer a spot that is already cleared because they lost track of which blocks are gone. Watch the wall, not your character.
The third is hoarding a nearly-full vacuum. Carrying 95% capacity feels efficient, but the time spent topping off that last 5% usually costs more than the extra payout is worth. Each vacuum trip is a fixed round-trip cost — walk to the cone, dump, walk back — so a 95%-full load and a 100%-full load pay out almost the same per trip while the top-off punches eat your money-per-minute. Dump at roughly 80% and loop more often: shorter cycles mean more rubble cleared per minute and fewer runs stalled behind a full vacuum.
The fourth is ignoring block type entirely. Treating a dense core block like a soft block means you burn six punches expecting a quick break and get frustrated. Read the texture first, then decide whether it is worth the time. Players who learn the block palette early report noticeably smoother early runs, and the beginner guide covers the first-room basics if you are still learning the layout.
Frequently Asked Questions
Does rubble disappear if I leave it on the floor?
Rubble persists on the floor for a long stretch, but it does clutter the room and can make navigation harder. Community reports suggest it does not vanish instantly, so you can break several blocks and vacuum afterward — just do not let piles build up to the point where you cannot see the next block to punch.
Which block type gives the best money per minute?
Soft and cracked blocks usually win early because they break in one hit and vacuum quickly, letting you chain loops fast. Reinforced and dense blocks pay more per block but cost far more time, so they only beat soft blocks once your vacuum capacity is upgraded enough to hold their debris in one trip.
Why is my vacuum not picking up rubble?
The vacuum pulls in a cone in front of you, so debris behind your character or off to the side will not be collected. Aim directly at the densest part of the pile and sweep outward. If pieces still will not collect, your storage is likely full and needs a dump.
Can the Bottomless Bucket overflow?
No. The Bottomless Bucket accepts unlimited rubble and pays out instantly on every dump, so it never needs upgrading or emptying. Your real limit is vacuum storage capacity, which is why dump timing — not bucket management — is the thing worth optimizing in every run.
How do I raise my money per minute quickly?
Cut dead time. Fill loads to roughly 85-90% before dumping, sweep debris immediately after a break instead of letting it scatter, and return to the same wall face after each dump so the next blocks are already exposed. Small time savings compound into a much higher cash rate over a full run.
Rubble is the whole economy of Punch Walls to Escape compressed into one object: break a block, collect what falls, dump it for cash. Punch physics controls how fast blocks break, block types control what they are worth, and your clearing routine controls how much of that value actually reaches the bucket. Nail the dump timing and the sweep order, and the rest of the loop takes care of itself.